Several C++ ClearCore examples are installed alongside the ClearCore Motion and I/O Library. To open and run them:
- File > Open > Project/Solution
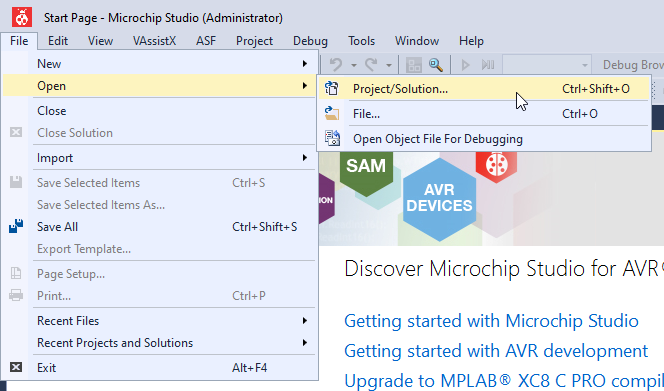
- First, we will run a digital output example. Navigate to this directory: (replace X with the latest version you have installed)
C:\Program Files (x86)\Teknic\ClearCore-Library 1.X\Microchip_Examples\DigitalIOExamples\WriteDigitalOutput
- Open the WriteDigitalOutput project

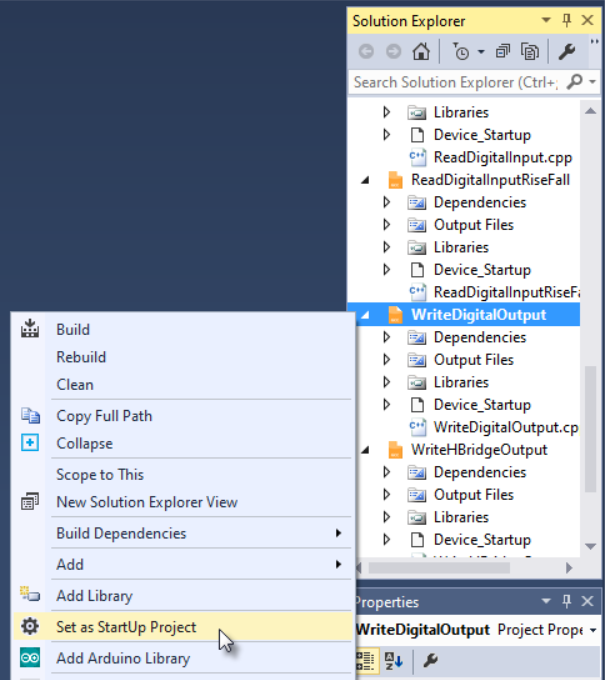
- This WriteDigtalOutput project is contained in a solution with all the other digital I/O examples. Even though we opened the WriteDigitalOutput project file, we must still set it as the "StartUp Project", i.e. the project that will actually run on ClearCore. Use the Solution Explorer to do this. Right click on the WriteDigitalOutput project heading and click "Set as StartUp Project".
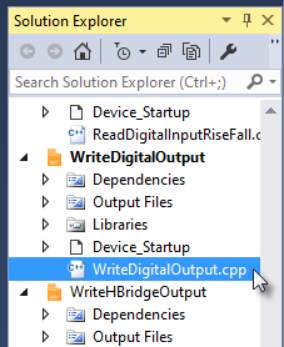
- Double click on the WriteDigitalOutput.cpp file to see the example code before you upload. All ClearCore examples have helpful comments, descriptions, and requirements that should be read before you upload. In this case, the example will turn on and off all 6 digital outputs, toggling every 1 sec.
- After reading the example comments, now we can upload. Code can be uploaded either over USB or through an Atmel ICE debugger.
Each example project includes a "Custom Programming Tool" that has been coded to facilitate uploading over USB. Each project is also already targeted for ClearCore's processor. You can see these two things already selected in the toolbar of Microchip Studio:

None of this needs to change to upload over USB.
To use an Atmel ICE debugger instead, change the debugger/programmer.

- Click the “Start without debugging” button to begin uploading.
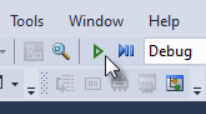
The project will compile, upload, and then begin running on your ClearCore. Notice the 6 I/O LEDs toggling on and off.
- Note
- If you are on Windows 11 24H2 and above, and are running into issues uploading code. Ensure you have WMIC enabled on your system, using these instructions.
